Creating an IoT Prototype
How it came about
I’ve been fascinated by the Internet of Things (IoT) for some time now, but have always wondered how much of it is hype and how it works in practice.
In May 2023, two useful problems occurred in the same week. Firstly, the TU Delft Cloud4Research team were organising an ‘IoT services through Cloud4Research’ event for 13 June 2023, together with AWS. The AWS team wanted to give a live demo using a low cost camera. They needed a way to connect the camera to the internet while on the TU Delft campus.
The second useful problem was a power outage at the south of the TU Delft campus. In one of the Chemical Engineering labs, a moving mirror is used to control a laser experiment. When the power stopped, the mirror stopped moving. When the power resumed, unfortunately, the mirror didn’t start moving again. After some tweaking, they got it working, but it was a bit unreliable for a while. Wouldn’t it be nice if you could keep an eye on the mirror when you’re not in the lab?
I decided to investigate.
Hardware
Following the AWS team’s lead, I got myself an ESP32-CAM. This is a microcontroller board with a camera, Wi-Fi and Bluetooth on board, …and all for around €10! The model I chose uses the ‘AI Thinker ESP32-CAM’ board manager, but there are others.
As this was the first time I’d used one of these boards, I found this Random Nerd tutorial and this DroneBot Workshop video extremely useful.
Some things I wished I’d known in advance:
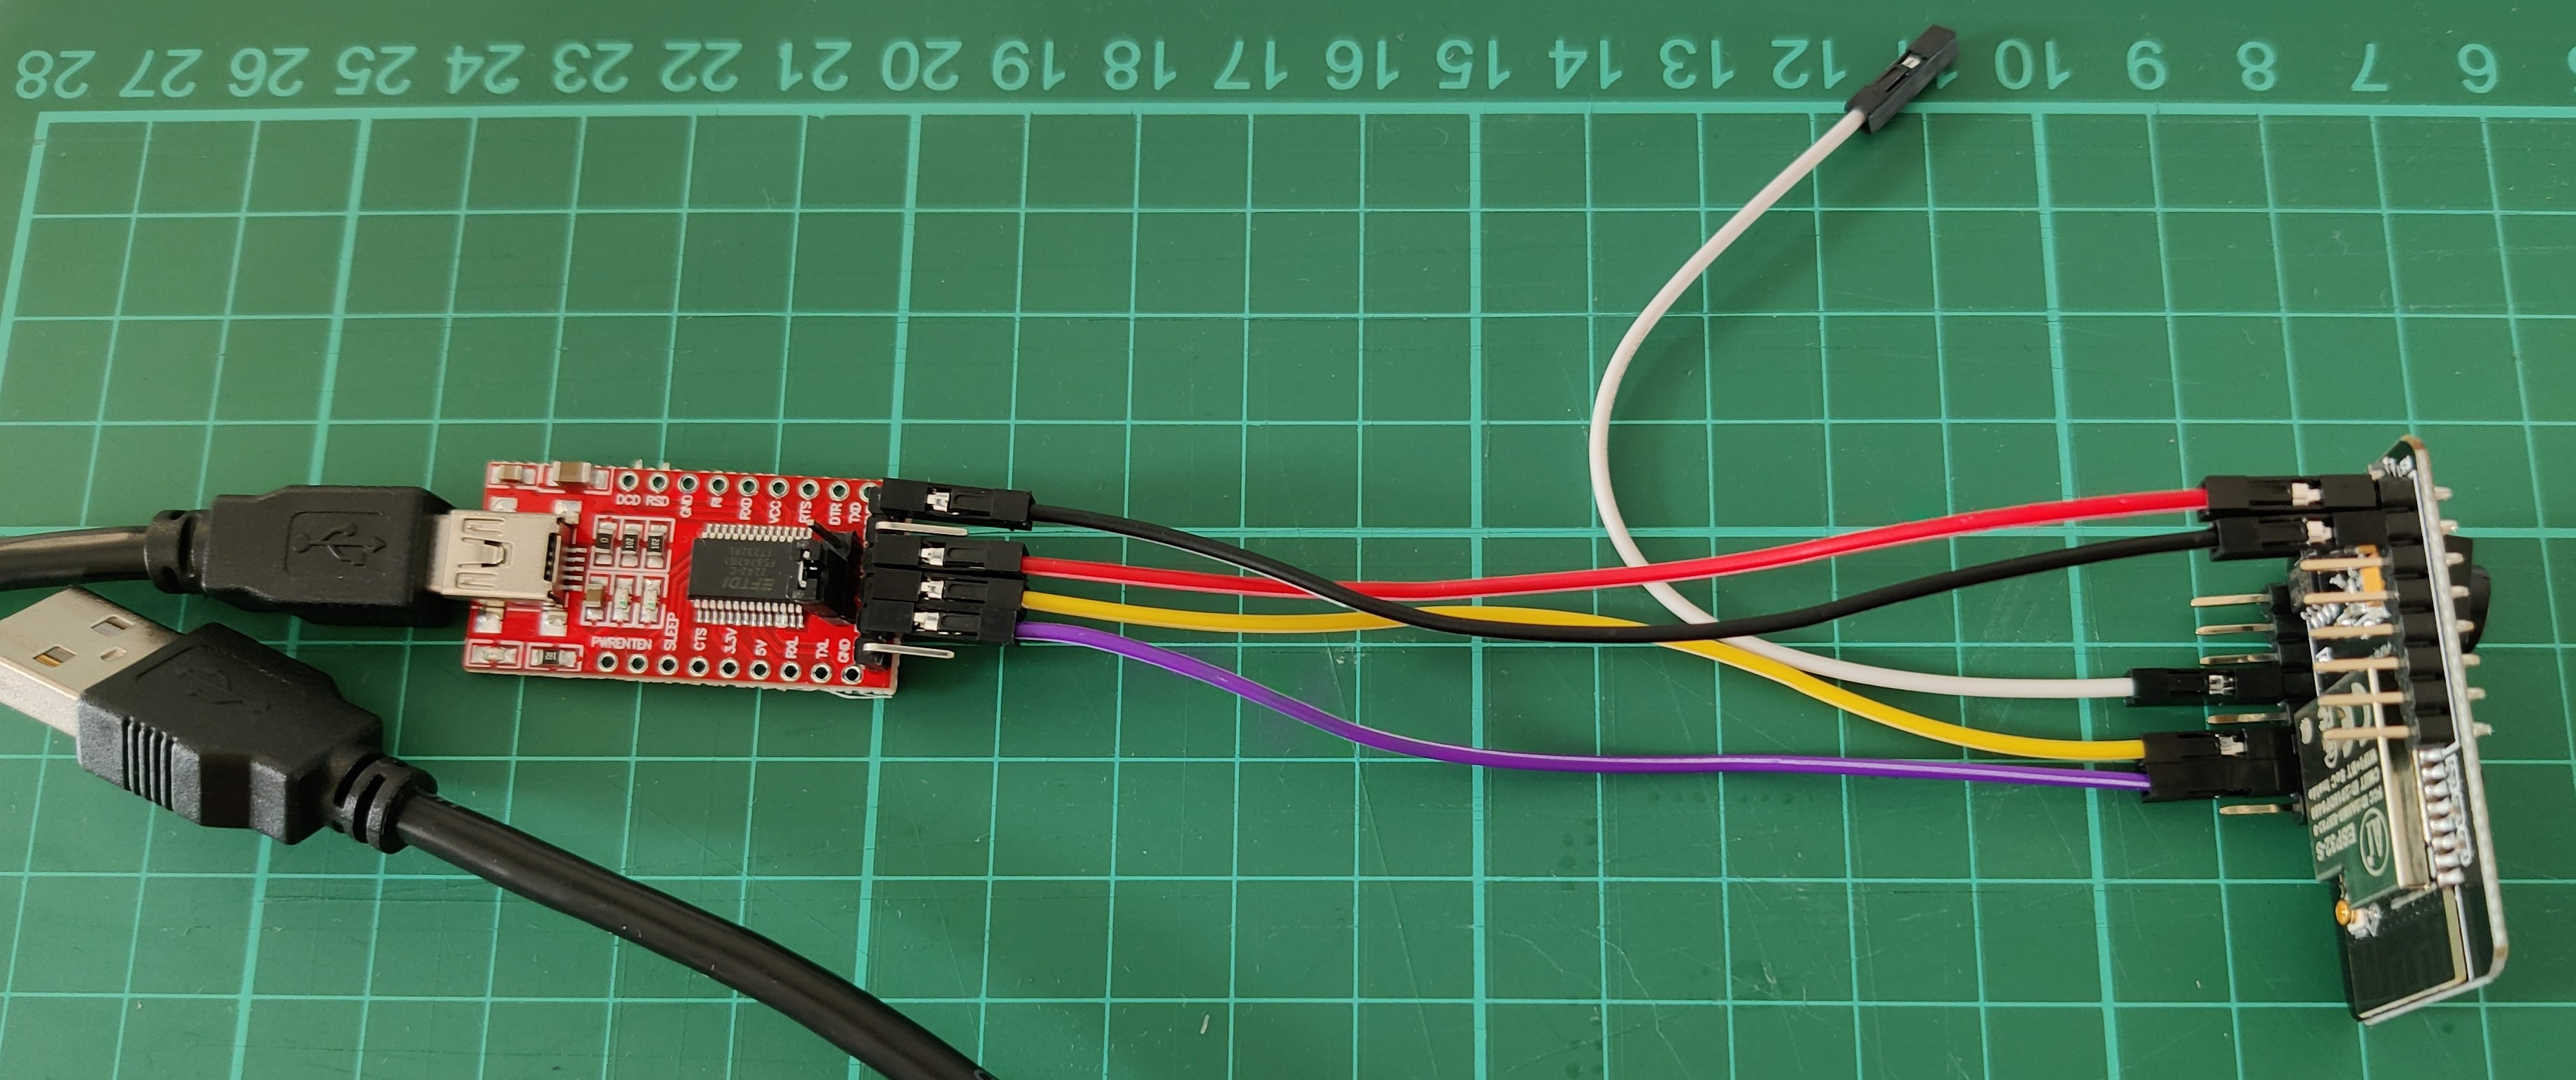
- Most ESP32-CAMs need a USB serial port adapter. This board connects the ESP32-CAM to your laptop so you can program your ESP32-CAM
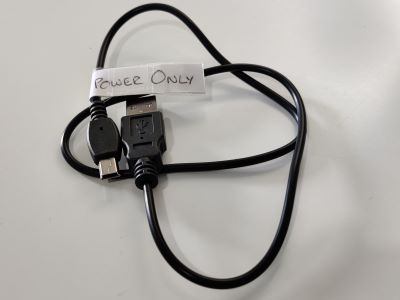
- Some USB cables are for charging only. These are useless if you are trying to program an ESP32-CAM. If you find one, destroy it immediately or mark it very clearly!
- You can only select a serial port when the ESP32-CAM is connected
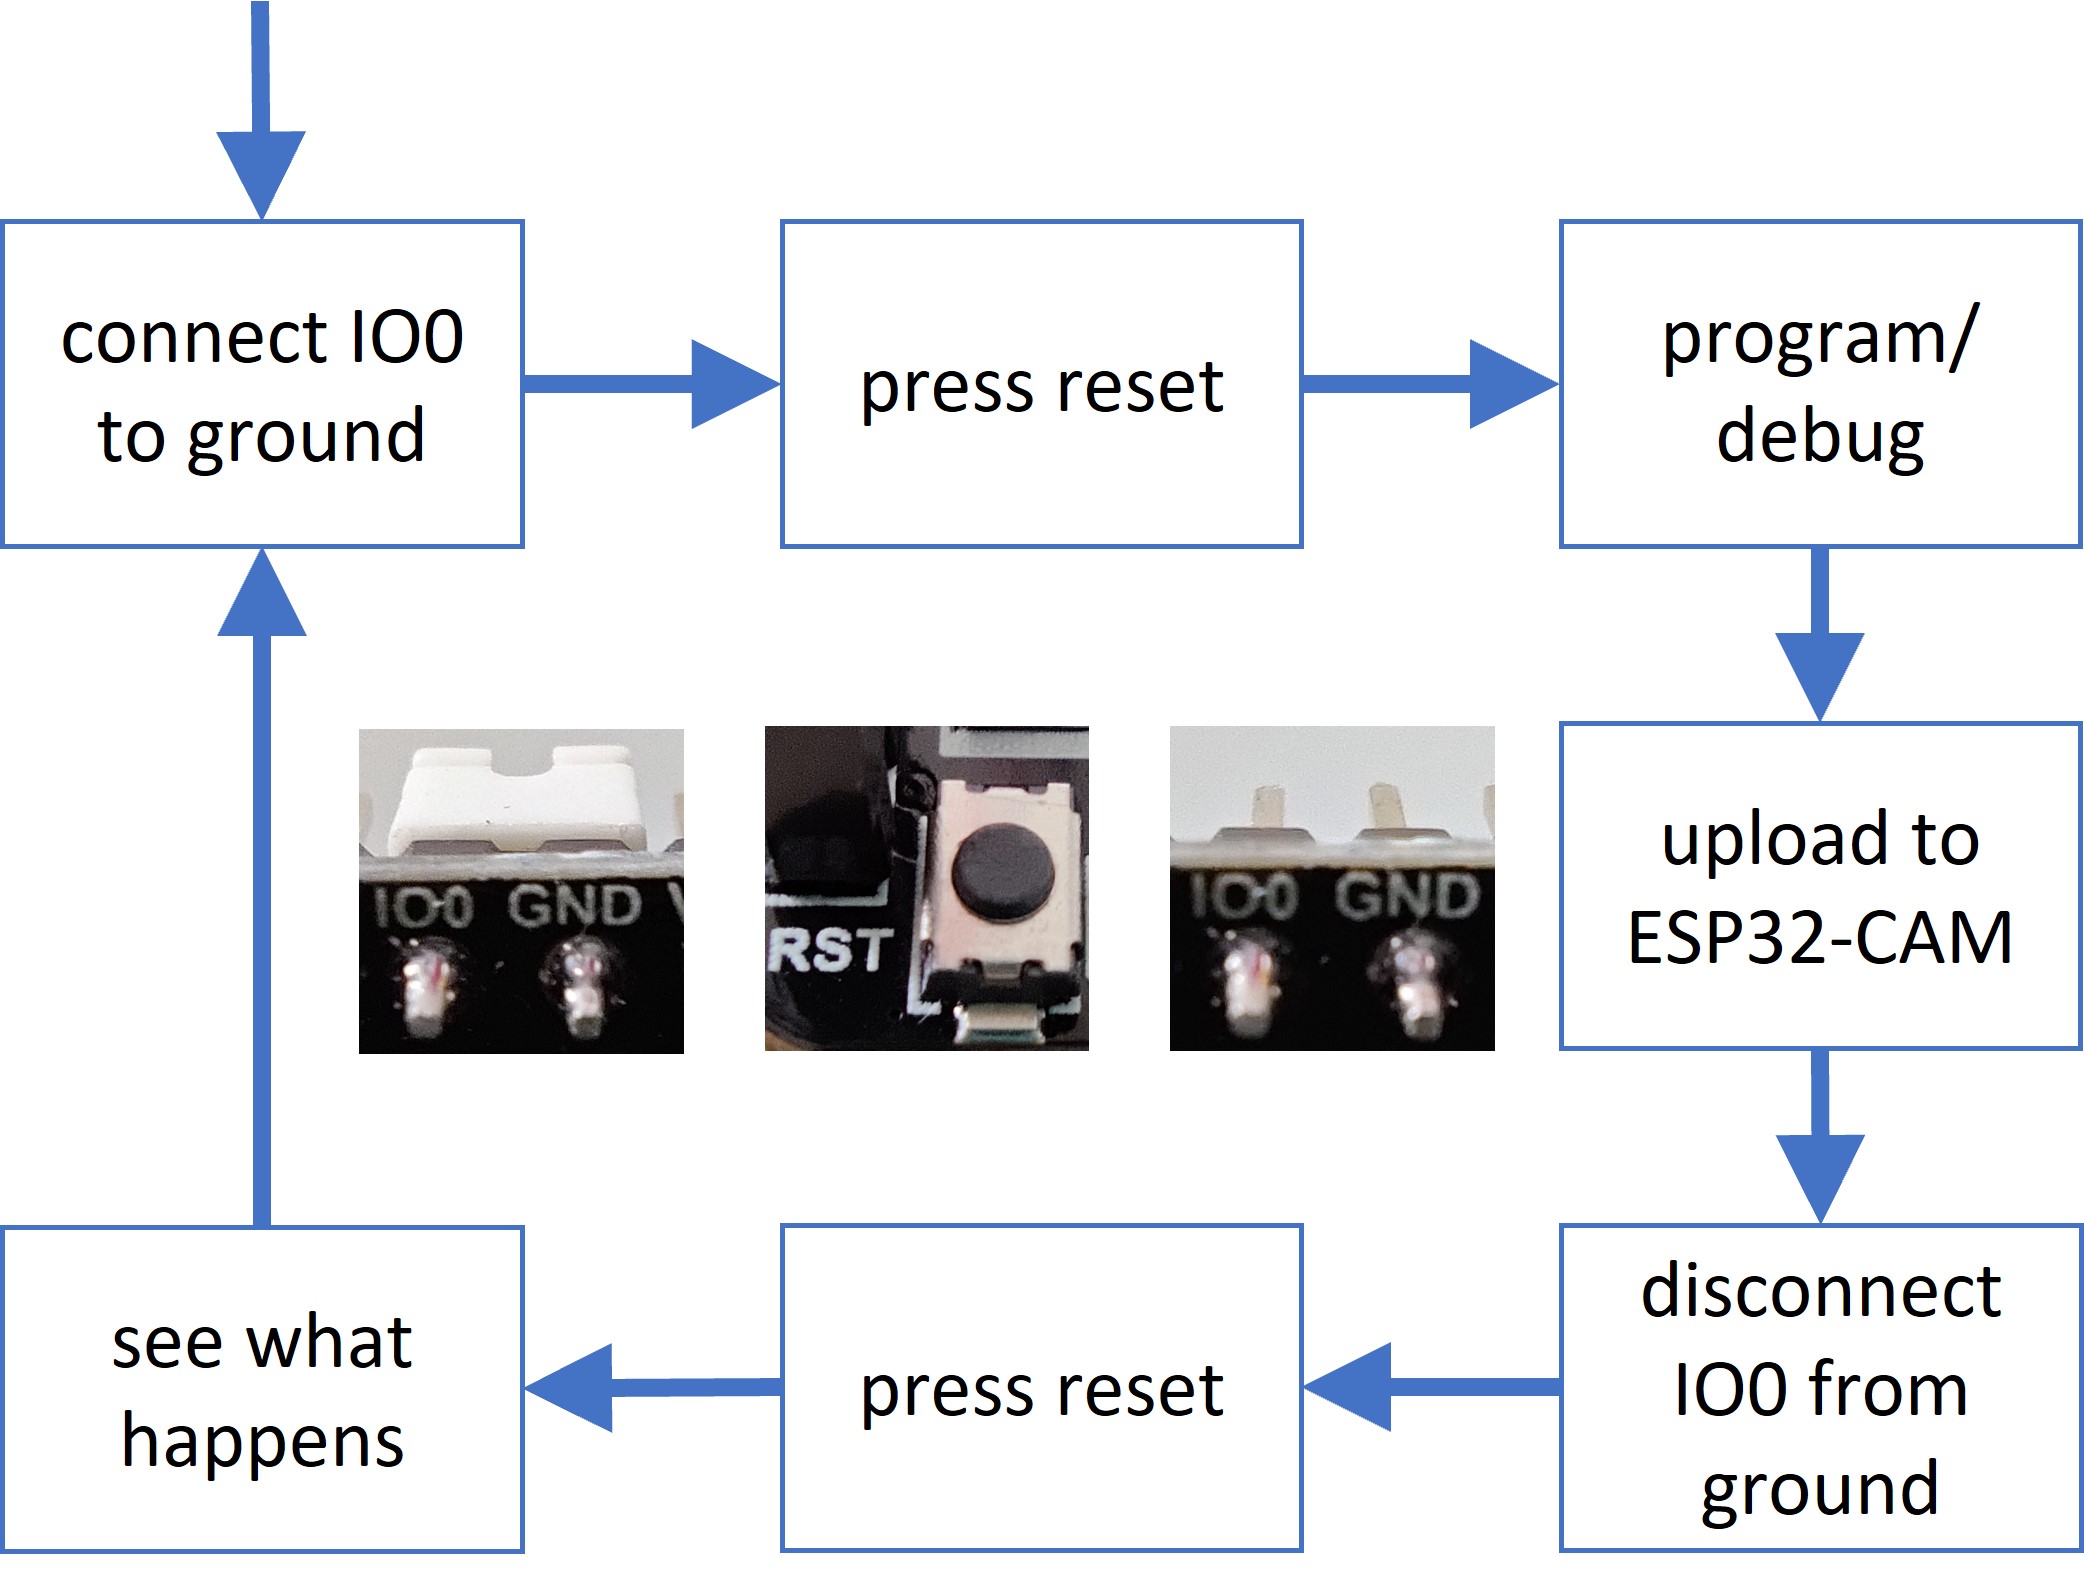
- Connecting and disconnecting the IO0 pin to ground and pressing the reset button is tricky and essential. I started with my ESP32-CAM on a breadboard, which made pressing the reset button difficult. This is the IO0-reset dance that finally worked for me…
Network
If you connect a new device to the Wi-Fi at home, you need the SSID, or name of your Wi-Fi network, and a long and difficult to remember key, or password.
At the TU Delft Campus, you use your NetID to connect your laptop or phone to the Wi-Fi.
Most IoT devices, like the ESP32-CAM, connect using an SSID and key, which can cause problems on campus.
Fortunately, there are two helpful services provided by the TU Delft IT department. The first gives you a licence which allows you to attach up to three devices.
If you have many devices, the second service provides you with an interface to manage your own set of licences, for your lab or group.
I sent an email to my Service Desk with the text:
Please could you make it possible for me to attach 2 IoT devices to the TUD-facility network?
They sent me a manual and a link to register and administer my devices.
To register a device, you need to know it’s MAC address. I found mine using this Random Nerd tutorial. Each device gets its own key. Only registered MAC addresses can join the network.
Bonus: In this article (in Dutch only), you can read how SURF is working on an IoT equivalent of Eduroam. The TU Delft campus solution may well become part of this larger initiative.
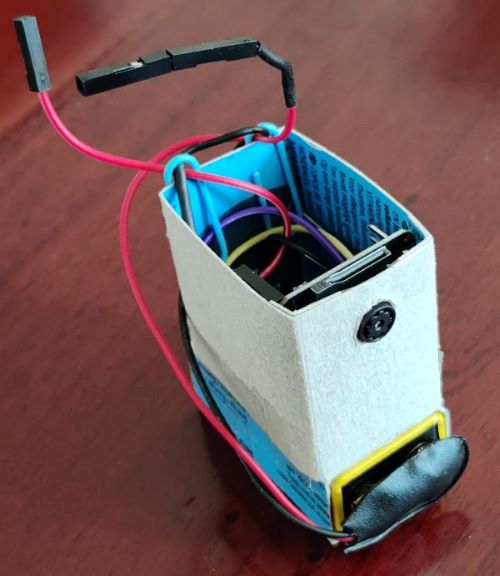
The result of an afternoon with a cereal packet and a soldering iron: FrankenThing
Syncing and Sharing
The next challenge was to get photos from the camera to a place where I could control who has access to them. I decided to use SURFdrive , but this solution would also work for ResearchDrive, or any other cloud storage service with a WebDav interface.
SURFdrive gives me the possibility to share the folder full of photos with other SURFdrive users, such as the people working in the lab.
SURFdrive has an excellent description of how to generate a token that you need to use the WebDAV interface. The curl examples (with added --verbose flag) were very handy for debugging.
To ensure you are talking to the real SURFdrive, you will also need the HTTPs certificate. If you are using Google Chrome, you can download this certificate by clicking on the lock to the left of the address bar, selecting ‘Connection is secure’, then ‘Certificate is valid’, then ‘Details’, then selecting ‘USERtrust RSA Certification Authority’ at the top of the ‘Certificate Hierarchy’, and finally ‘Export…’. You can open the downloaded .crt file with a text editor. You’ll need to add some quotes and line endings to get it into the correct format for the ESP32-CAM. Here is the example I followed.
Lessons learned
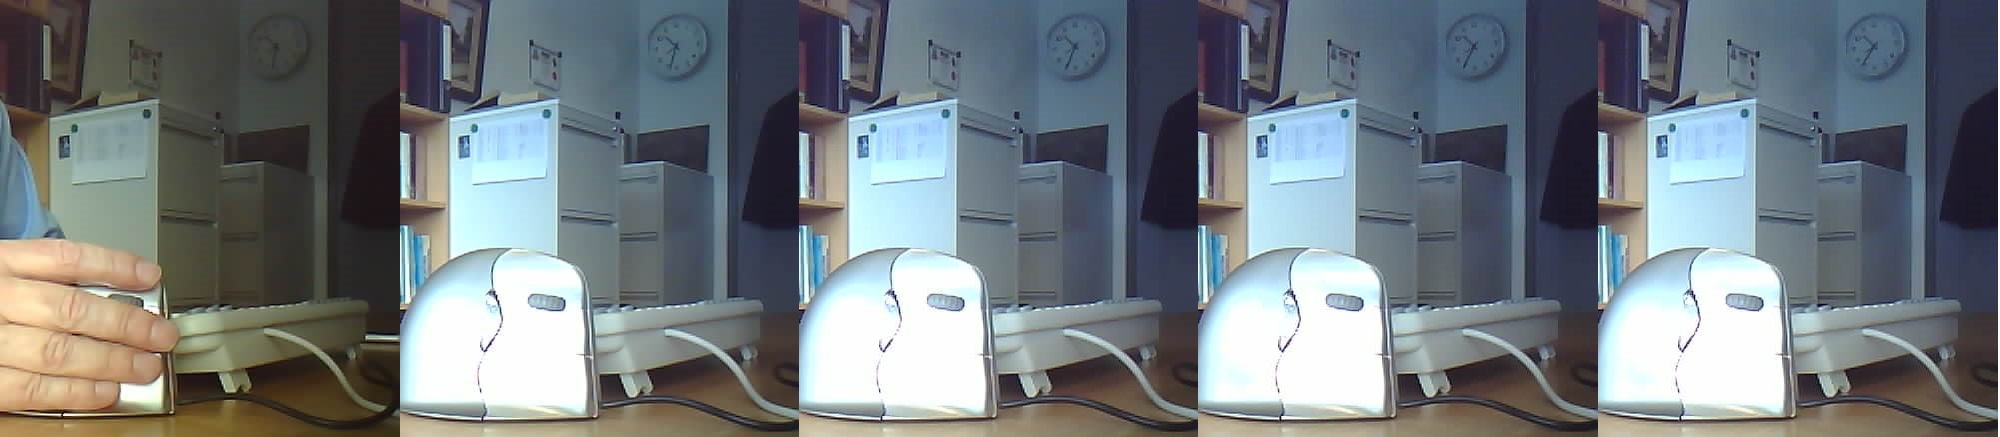 One photo per minute - zoom in to check out the clock top right
- It’s possible to connect an IoT device to a Wi-Fi network at the TU Delft campus, without misusing your NetId – so please don’t misuse your NetId
- It’s possible to send data directly from an IoT device to a secure cloud solution, such as SURFdrive or SURF’s Research Drive
- There are a million ways to waste an afternoon!
If you would like to reuse my solution, you can find it here. You’ll have to check the rootCACertificate, add the Wi-Fi ssid and password, add the SURFdrive username and token, and check the paths (webdavUrl, hostname, serverPath).
What next?
- Get a more robust enclosure. Thingiverse has some nice examples to 3D print
- Find a way to ensure that people don’t get accidentally photographed
- Work on energy efficiency. If I upload a photo every minute, a 9V battery only lasts a couple of hours. Note that my ESP32-CAM had a built in voltage regulator to accept up to 12V. My temporary fix was to use an adapted phone charger, but this link looks very userful
- Find a way to alert a researcher automatically when the experiment isn’t going the way it should. I’m hoping the ‘IoT services through Cloud4Research’ event will provide some inspiration for this
Last, but not least
I am very grateful to:
- Random Nerd, DroneBot Workshop, Random Nerd again, Random Nerd yet again and Espressif for their excellent examples
- Michiel Fokke and Laurens Siebbeles for very useful problems and helpful discussions
- Lolke Boonstra, Fred Roeling and Mark Schenk for helpful discussions
- Niket Agrawal for inspiring me to blog again
If you have any suggestions to improve this solution, or you would like some help reproducing this solution for your research problem, or you have some other research and IT related problem we could work on together, I would be delighted to hear from you.
This blog expresses the views of the author, Susan Branchett.
This blog is published under a CC-BY-4.0 international license.